Facebook Business Manager Step-by-Step Guide
2021-12-21
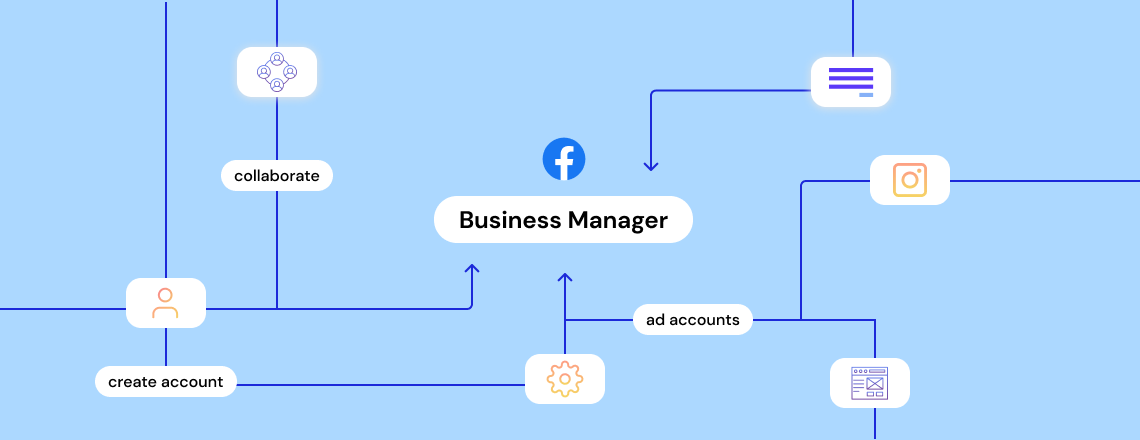
Business Manager is an essential tool for any business using Facebook for marketing and promotional purposes. It helps keep and manage your Ad accounts, apps, Facebook pages and Instagram accounts in one place.
If you’ve been putting off its creation because you weren’t sure how or where to start, we’ve prepared a simple step-by-step guide on how to create a Facebook Business Manager, an Ad account, and how to manage your business assets inside Business manager.
Why do you need Facebook Business Manager?
Business Manager serves as a centralized place to control all your business tools and assets. Here are some main features you can benefit from:
- add colleagues/team members with different levels of access: to manage ads, or only view performance, act on behalf of a Page, etc.
- get access to your clients’ ad accounts to manage ad campaigns for them
- your coworkers won’t have access to your personal account information
- track Facebook ads on one dashboard, get detailed performance reports
This isn’t a full list of Business Manager advantages, so let’s start creating one now.
How to create Facebook Business Manager
1. Create a Business Manager account
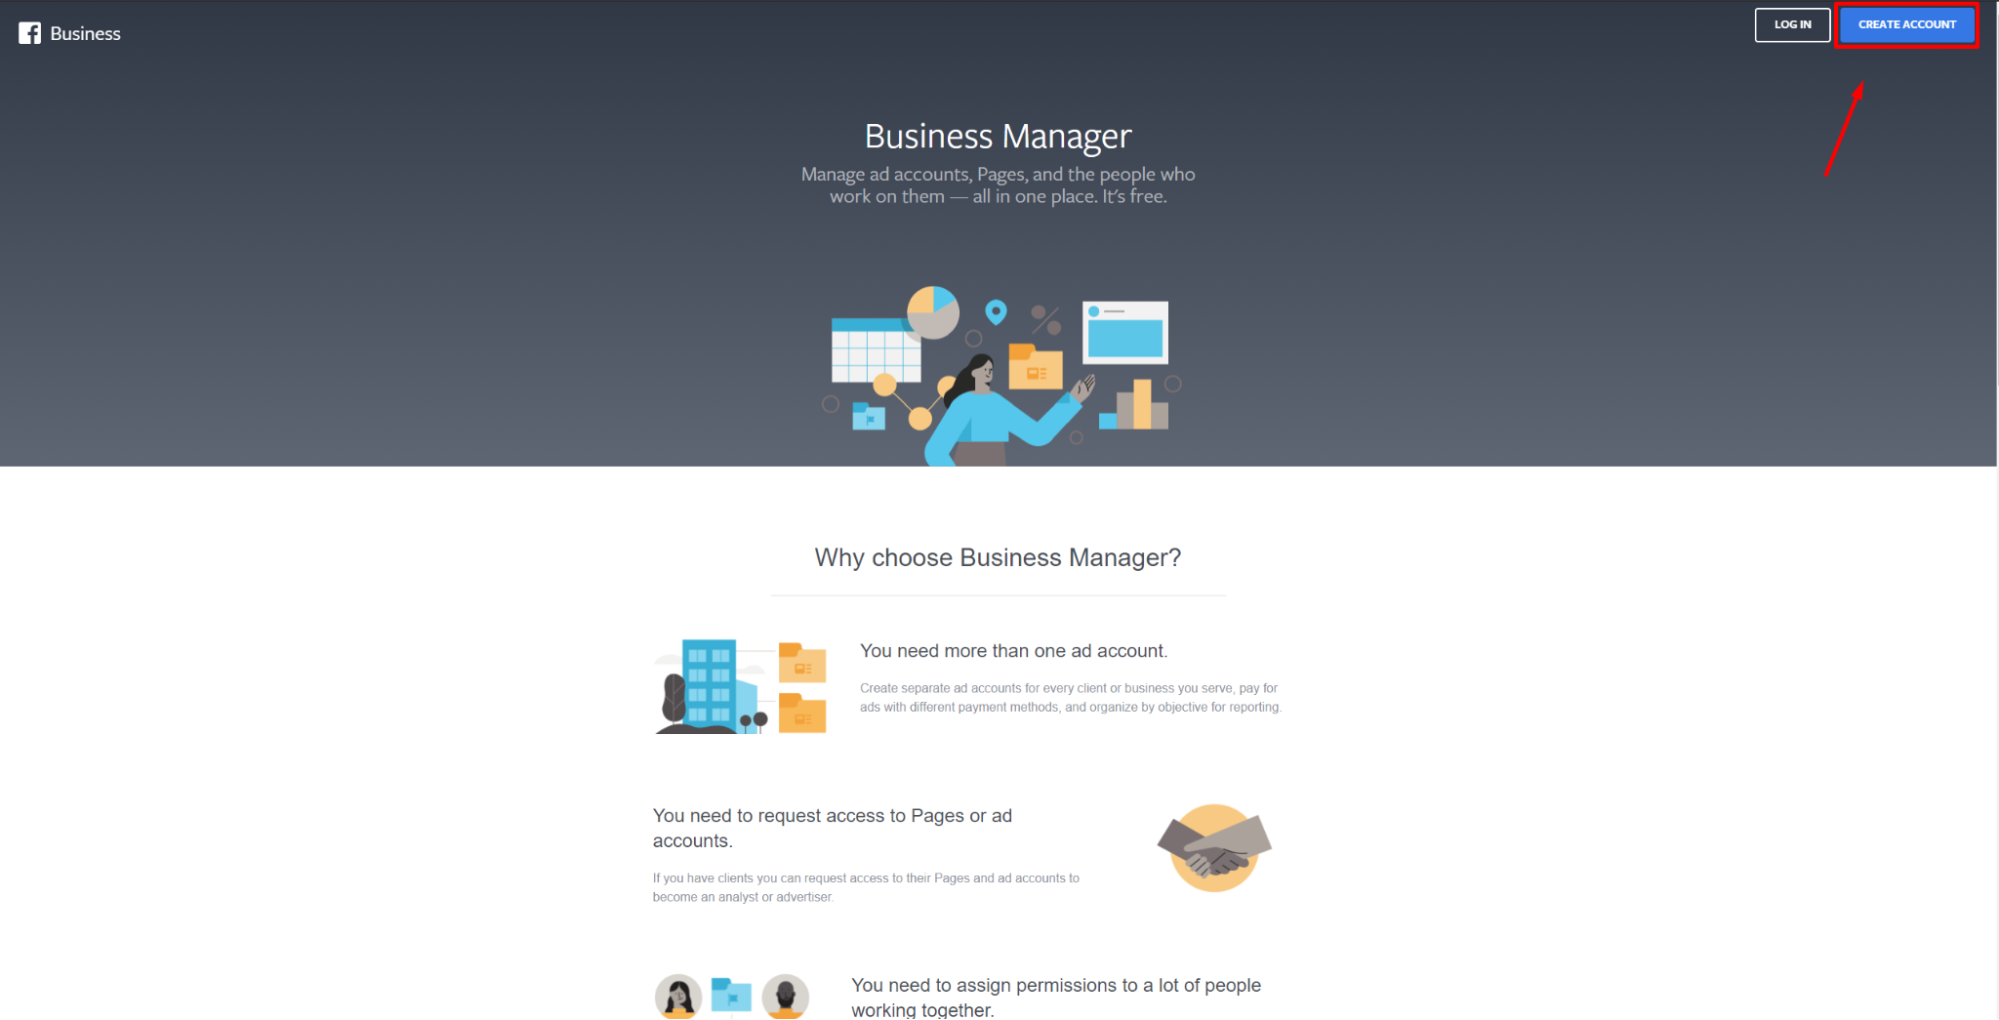
- Go to business.facebook.com and click on the blue Create account button in the top right corner.
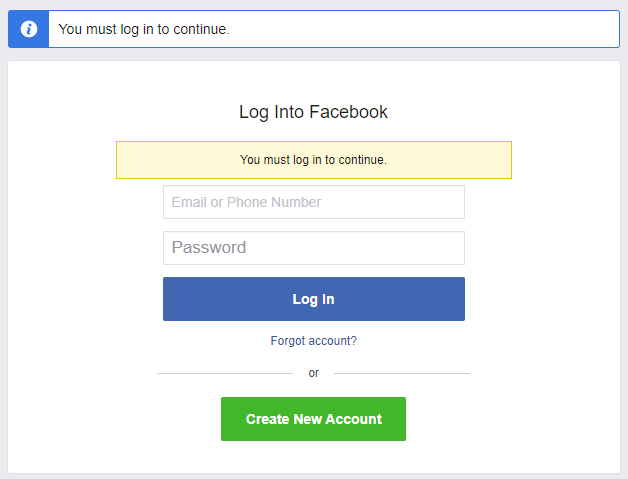
- Log into Facebook if you already have an account or create a new account if you don’t.
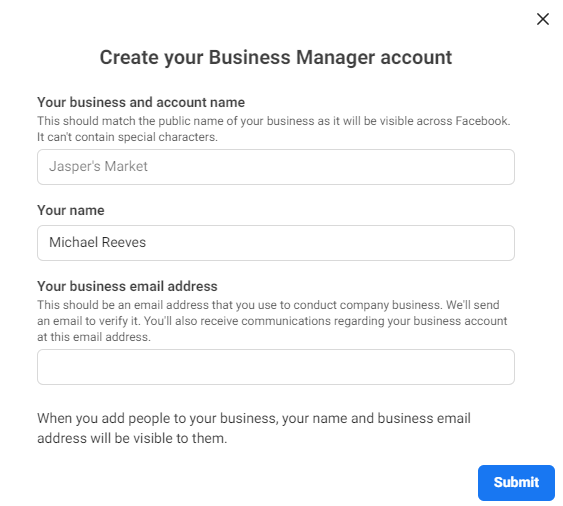
- Enter the name of your business, your name, and the business email address you’re going to use to manage this business account.
- Enter your business details: business address, phone number, and website. Specify whether you’ll use this Business Manager to promote your own business or provide services to other businesses.
- As the last step here, confirm your business email address in your inbox.
2. Add people to collaborate.
Facebook Business Manager gives you an opportunity to add team members to work on your business account altogether.
You can give people a limited Employee access or give full control over your Business Manager - Admin access. 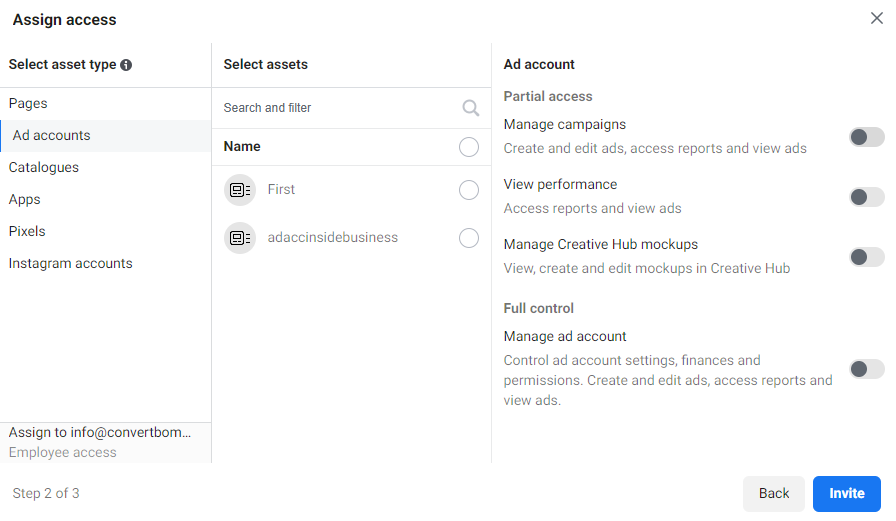
Using toggle switches here you can customize each person’s access level.
The people will receive an invitation email confirming they’ve been granted access to your business.
3. Add Ad accounts.
Ad account is used to manage your ads on Facebook.
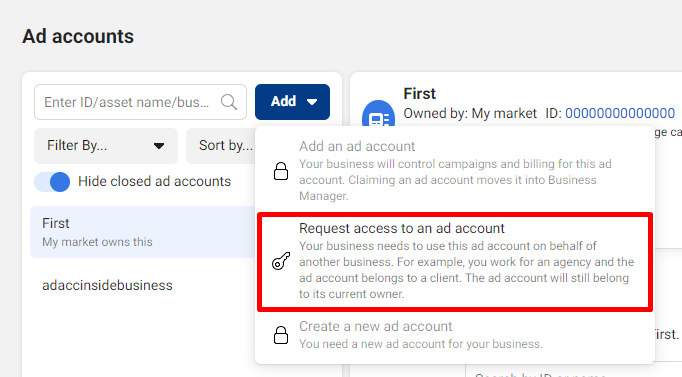
You can add Ad accounts you own and request access to other people’s Ad accounts.
There’re three ways to add Ad accounts to your Business Manager.
- Add an Ad account. One Ad account can be added to only one Business Manager and it can’t be removed. So be careful here. You should be both the owner of the Ad account and the admin of the Business Manager.
- To access someone else’s Ad account you should select Request access option.
- Create a new ad account. If you create a new Ad account inside your Business Manager it will be automatically owned by your Business Manager and can’t be moved to another one or belong to an individual owner.
Each Business Manager has a limit of Ad accounts that can be owned by it, for this reason at the beginning you may not be able to create more than one Ad account. You will be able to add more based on your advertising spend.
In the list of Ad accounts, the Ad accounts owned by other businesses will have the name of the business that owns them below their name.
4. Add Pages.
In the Pages section, you can add a Page that you’re the owner of, request access to work on someone else’s Page or create a new Page that will belong to your Business Manager.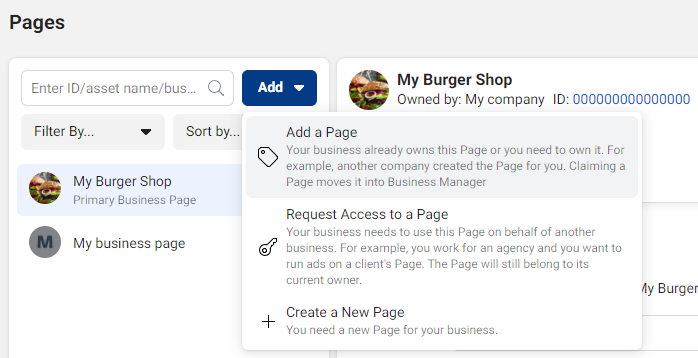
Unlike with Ad accounts, you can create and own more than one Page.
5. Add Instagram Accounts
In order to manage and run ads on behalf of your Instagram account, you should connect it to your Business Manager.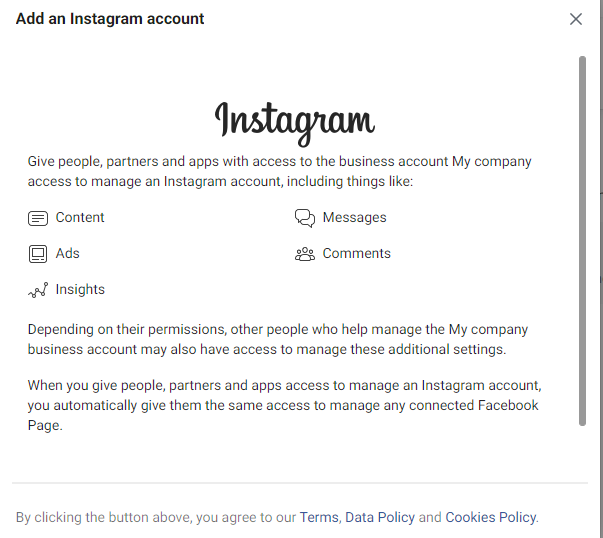
By giving People, Partners and Apps access to your Instagram account, you also give them access to manage any connected Facebook Page.
6. Create a Business Asset Group.
A Business asset group is an easy way to group ad accounts, pages, and pixels and assign them to people in your Business Manager.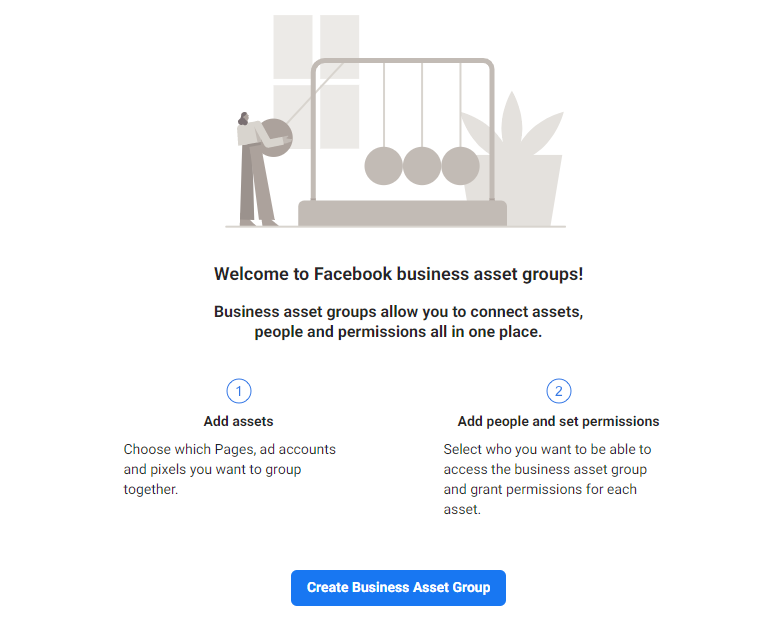
You can organize your work in any preferred way: separate by brand, line of business, regions, agency, or select a custom option. 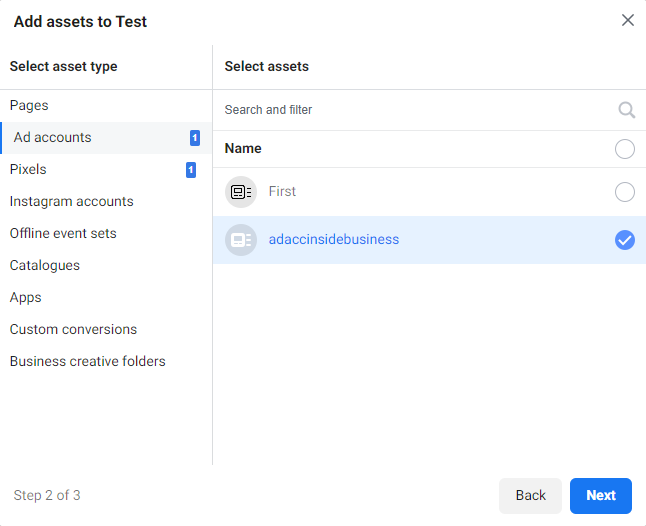
All you have to do is just select the name, assets you want to add and assign people the necessary permissions. Please note that you first need to add people to your Business manager if you want to assign them some asset group.
7. Add Payment Methods.
Your account can be set up for automatic or manual payments. This setting can’t be changed once set.
If your account is using automatic payments, you or anyone you granted a Finance editor permission can add or remove payment methods for your Business Manager. You can do this in the Payment methods section of the Business settings or Ad account settings.
To pay for the ads of an Ad account, you should connect it to a particular payment method. Facebook ads accepts the following payment methods: credit and debit cards, PayPal, bank account (in supported countries), local manual payment methods in some countries and currencies.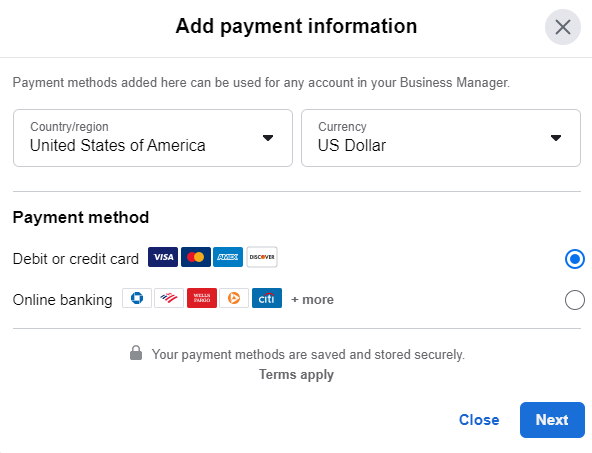
In case your Ad account is set up for manual payments, you won’t be able to add payment methods like this. In this case, you should add money to the prepaid balance on your Ad account.

